I love cherry trees, it’s breath taking to see each new tree as it is in full bloom. I love the romance of the pink “snow” which covers the ground after the blossoms fall. I love that glorious spectacle that occurs every year. The fact that it lasts for only a brief time, makes the experience even sweeter.
In a earlier post I mentioned a charming Japanese tradition which celebrating the beauty of their blooming cherry trees. I am enchanted by this wonderful Japanese tradition, that occurs every year. As the cherry trees begin their bloom season the celebration of that beauty begins,
There are many varieties of cherry trees, each one has it’s own bloom cycle, some early, some mid season or others bloom late. As one variety of tree begins it’s bloom cycle, another variety is just finishing it’s. The blooming season is extended with the staggered bloom times.
I have no idea of the history behind what follows, perhaps it is simply a way to appreciate the beautiful display. Families picnic under the trees which are currently blooming. When the next round of blooming begins, they follow and have another picnic beneath the blossoms, and on this will continue til the blooming has finished.
You may wonder how do people know which trees are currently in bloom? Bloom updates report the currently blooming trees and their locations, in much the same way as ski reports are broadcast here in the states. Which ski locations have fresh snow, ” Vale Colorado has fresh snow with a depth of …” .. As the updated blooming reports are made a flurry of people travel from one location to the next follow, taking in all the beauty.
I think this story illustrates the excitement and awe we feel as we observe this wonderful spectacle. I decided to make the theme of my new art quilt one tree in bloom. Looking up the old gnarly trunk of a old cherry tree to see a pink cloud of blossoms spilling out over the branches. It is a striking contrast.
I’ve made a start on it. My quilt is on a long hand painted panel, which is about 50″ by 19. I’ve fused on many cherry blossoms and am in the process of appliqueing them on. Then the thread painting will add detail, the bark on the tree and so forth.
Here are a few photos of this early stage, I’ll try to give you updates of the progress.
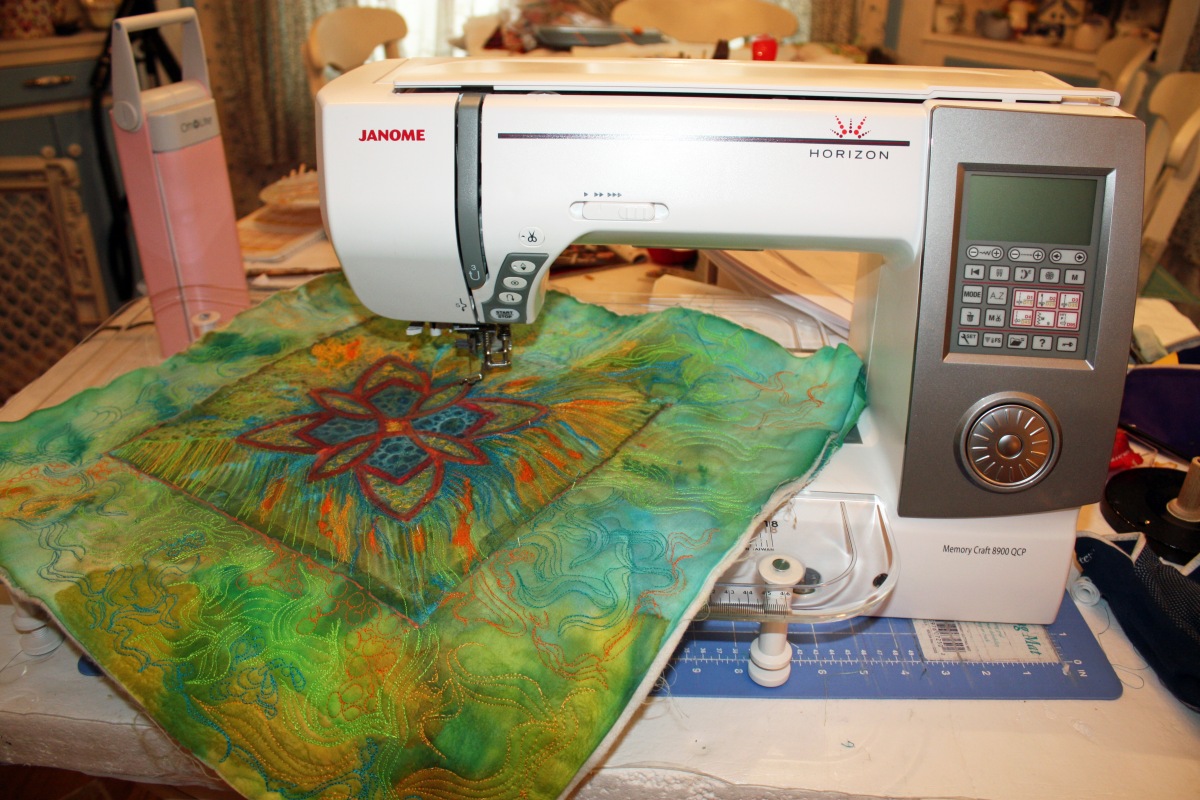
Next Thursday 6/13 is the day my feature will post on Janome’s Global website. That’s exciting for me. So please look for it Thursday, I’ll post the link then janome.com the global site.. I’m on the landing page right column, it scrolls down for news and features.. The features are 1 week in the top spot then moved down, So come over to janome.com and have a look.
To tell you the truth I was surprised when I received the email from Janome. But I’m am big fan and not afraid to say so!
Here it is my wonderful machine.Fire and Ice art quilt. Hand painted silk art quilt with lively thread play.
NEWS,NEWS, NEWS I have a few upcoming events. which I hope you’ll look for. It’s NEWS! One is about myself and the other is concerning Rachel Biel. Read on to find out.
How about that new Janome?
The first one is a real thrill for me. I was contacted by Janome, they are starting a new series on Janome.com their page. It will be a series of brief interviews with different quilters and fiber artists and so forth who run their own small businesses that involve quilting, fiber art and the like. These are woman who depend on Janome machines in their work. I’m one of the women being featured in this series,which will be most likely sometime next week. I’ll post the date as soon as I get it and a link too if possible before hand. Please come and support me, besides this actually is a fun site to poke around in, lots to do, info, FAQs, forums, projects, tips, information about your machine, updates, lots more- and no it isn’t just a site with different models and features pictured. Oh, last but not least, there is a new series you don’t want to miss
TA DA of featured women! It’s no secret that I love my Janome 8900 QBC, if that comes as a surprise to you, well you haven’t been reading my blog, hummm. I love my machine and I am vocal about it, no one is offering me any incentives or twisting my arm, I just love it, and sound like a walking commercial I realize.
This second announcement is equally exciting, keep on reading.
I am posting an upcoming interview with Rachel Biel. She is the woman behind TAFA, which you likely are familiar with or should be if you are interested in fiber or textiles.Rachel is such a interesting person, she has been involved with fiber and textiles many years[I keep wanting to say fiber art here, she is a fiber artist in her own right] but TAFA involves much more. Rachel is one smart dynamo of a woman, I loved what she had to say, she’s honest, real and a straight shooter. Her years of experience have given her insight and a lot of savvy which she is generous in sharing, You can’t help but admire her “go get it” attitude, isn’t afraid to work hard, and do what it takes to achieve goals. What she has to say has value, it’s not fluff! You will enjoy this, she’s one interesting woman.
So that’s all my NEWS NEWS NEWS coming up really soon, look for these. I sure want to encourage you to check out my little feature and the interview with Rachel Biel is going to interest and engage you. I’ll post the
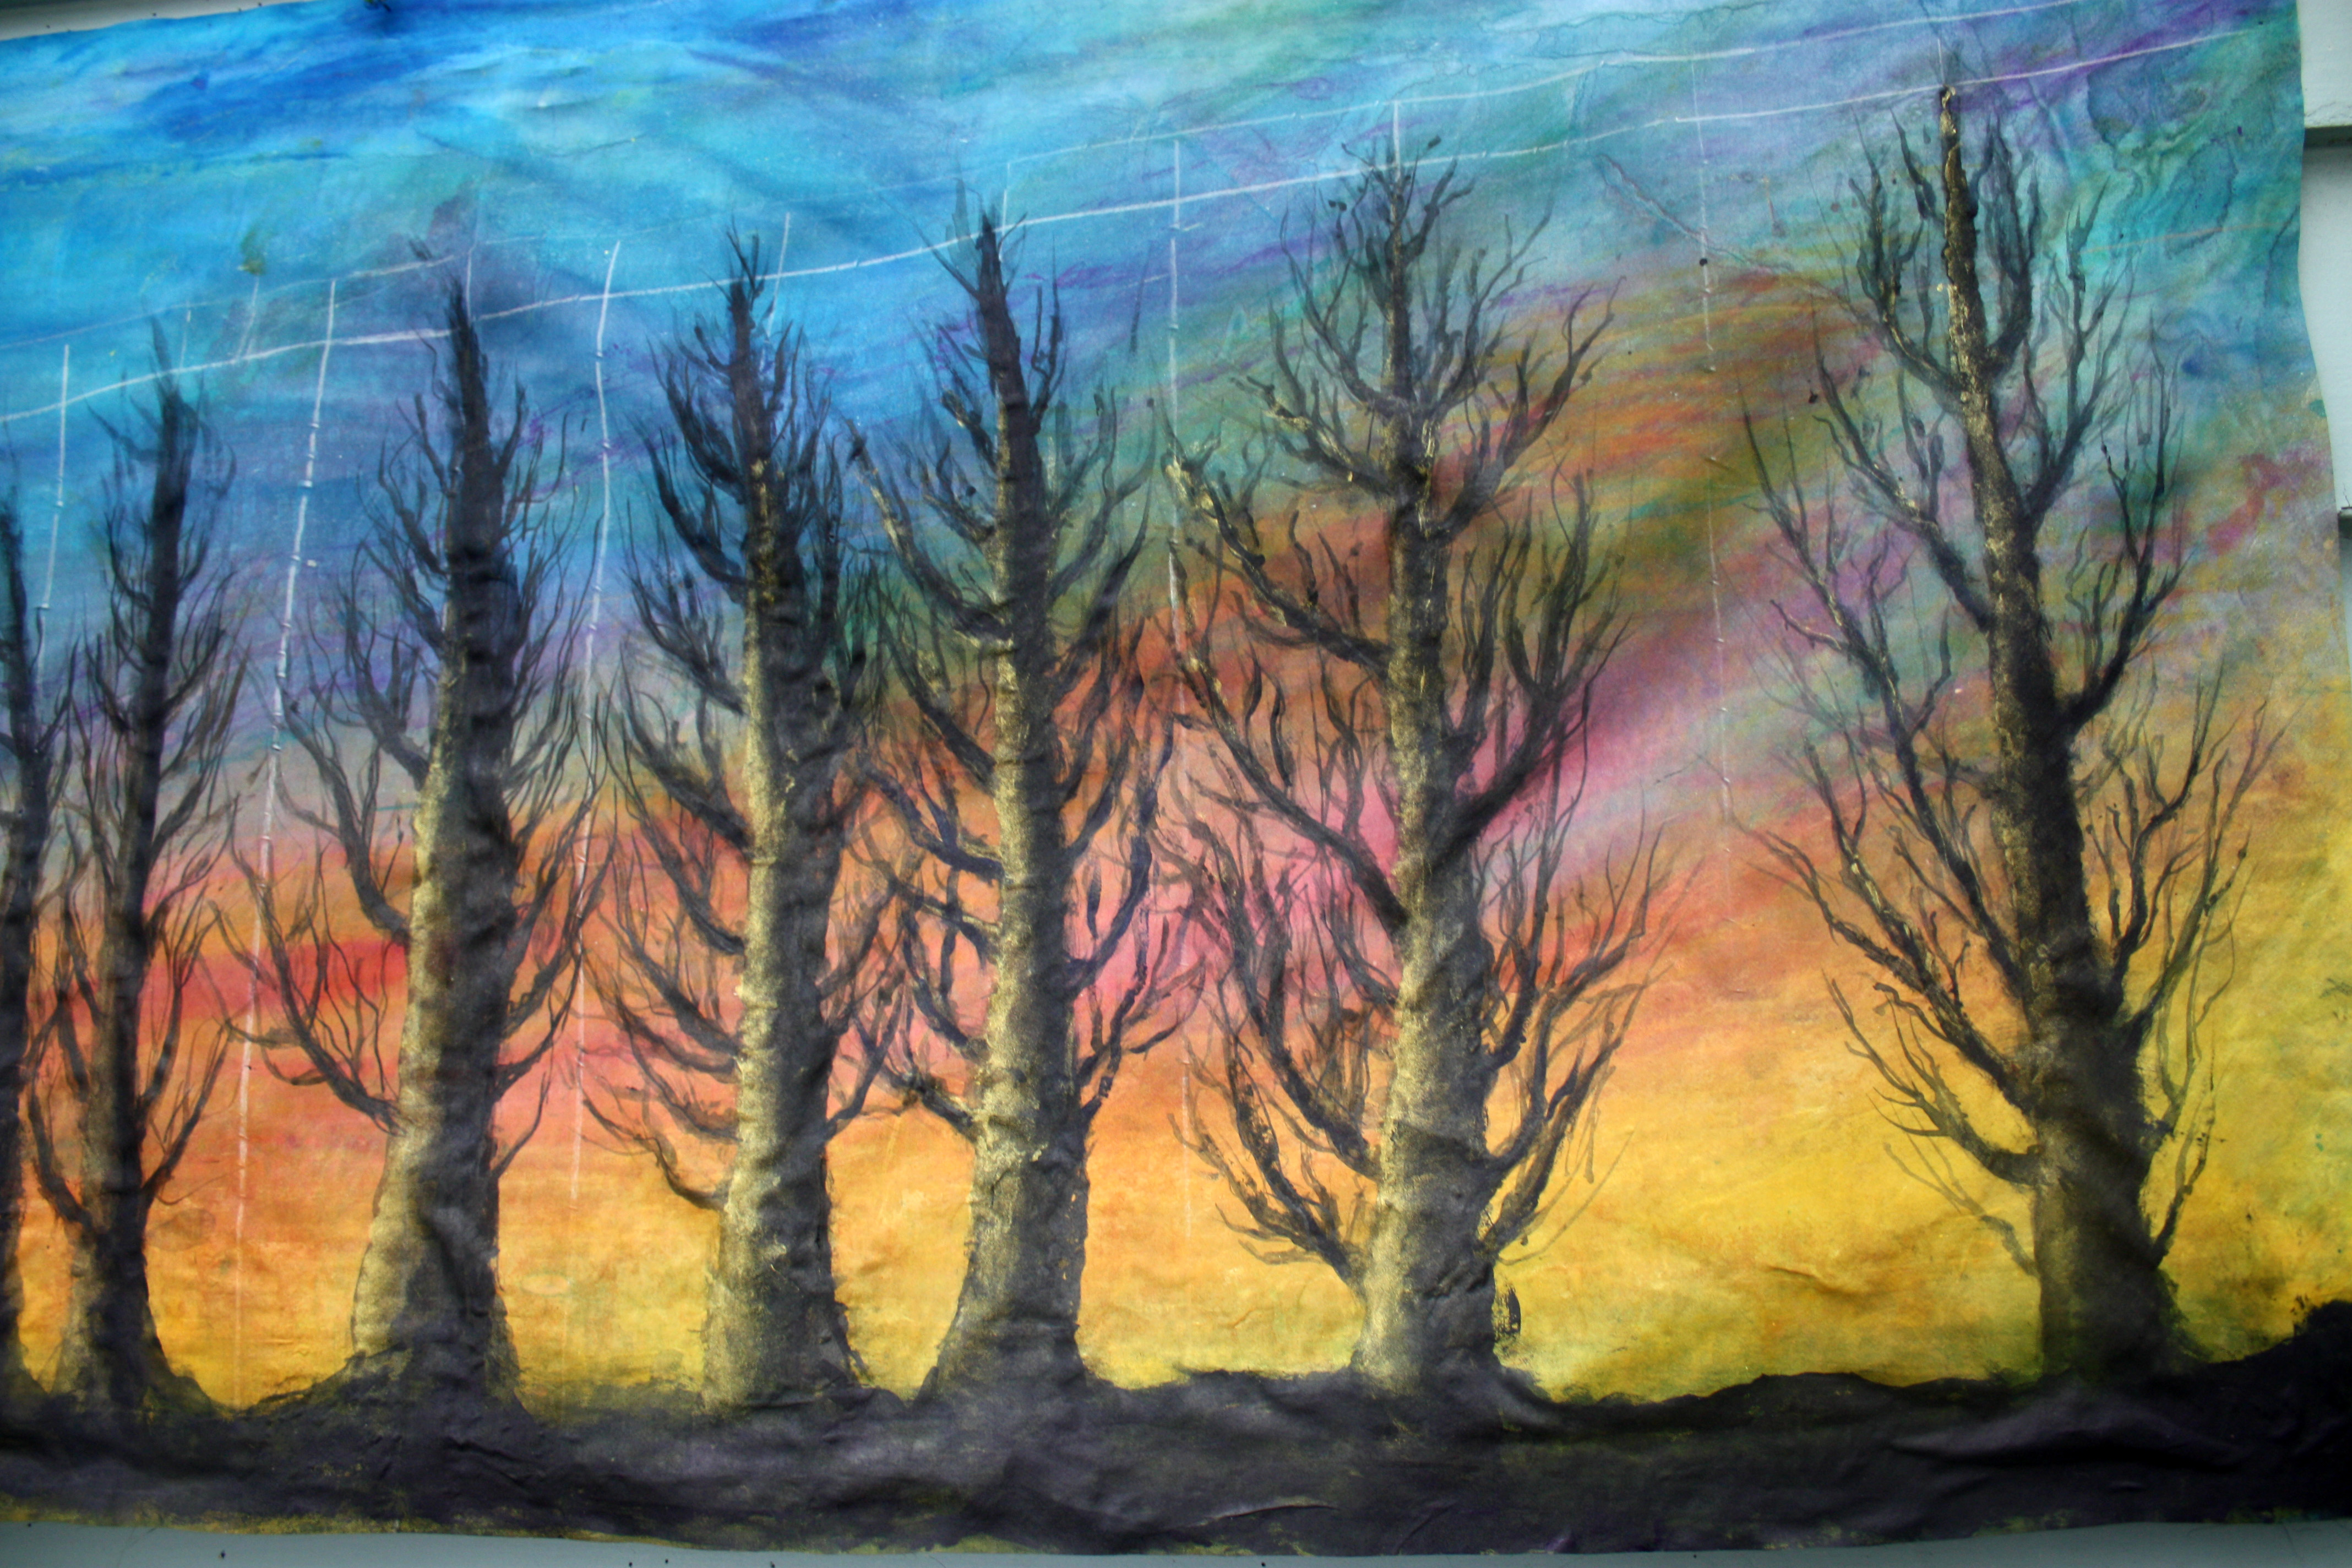
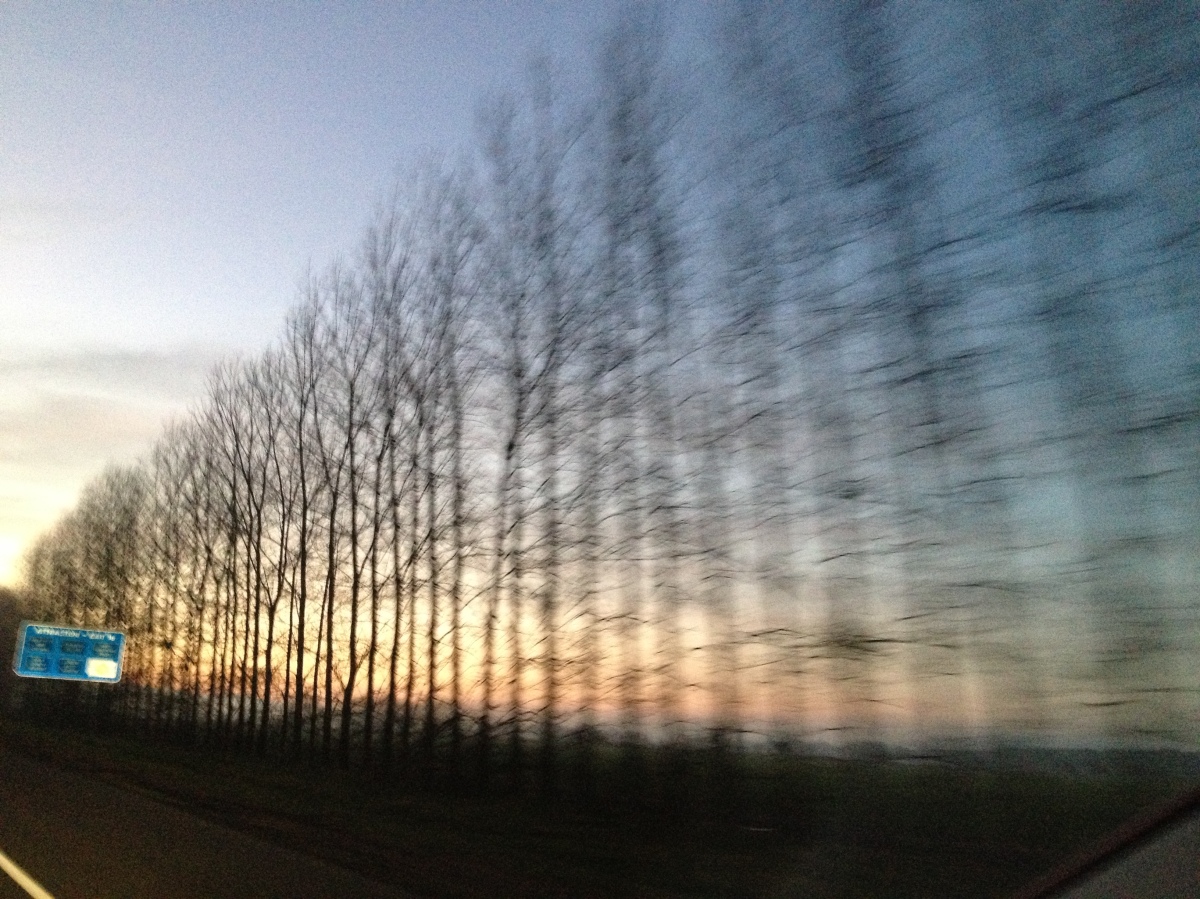
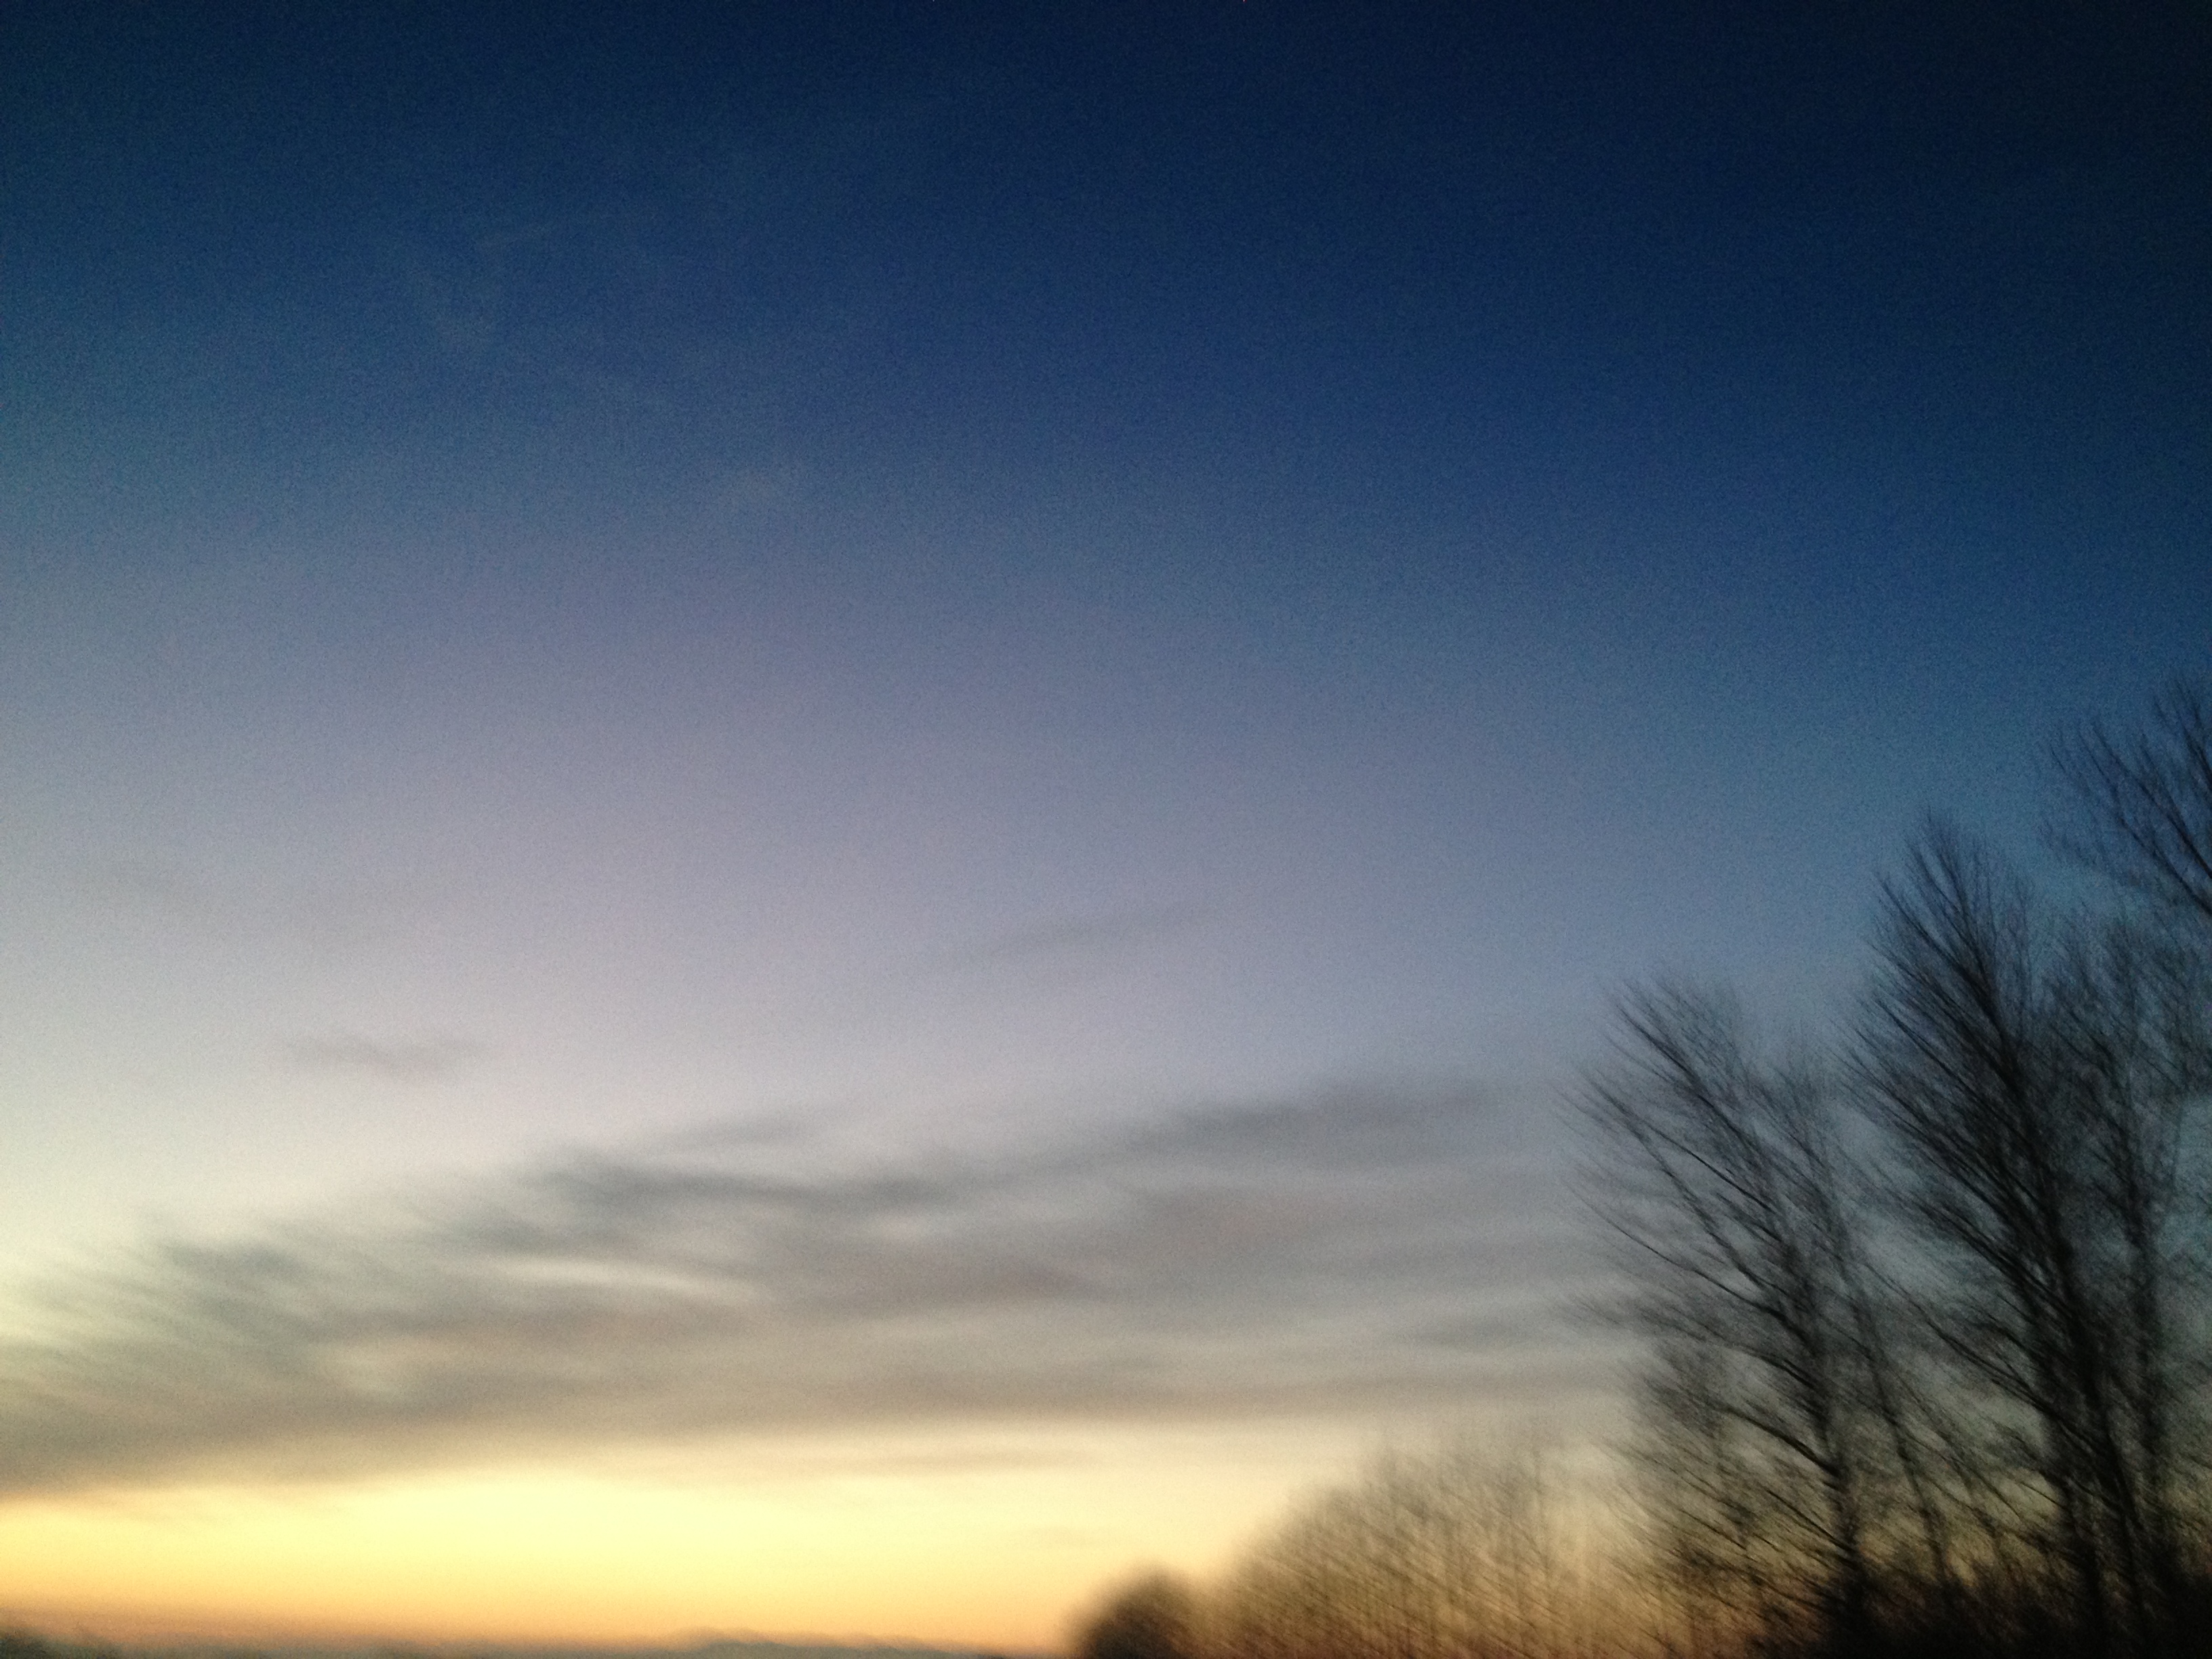
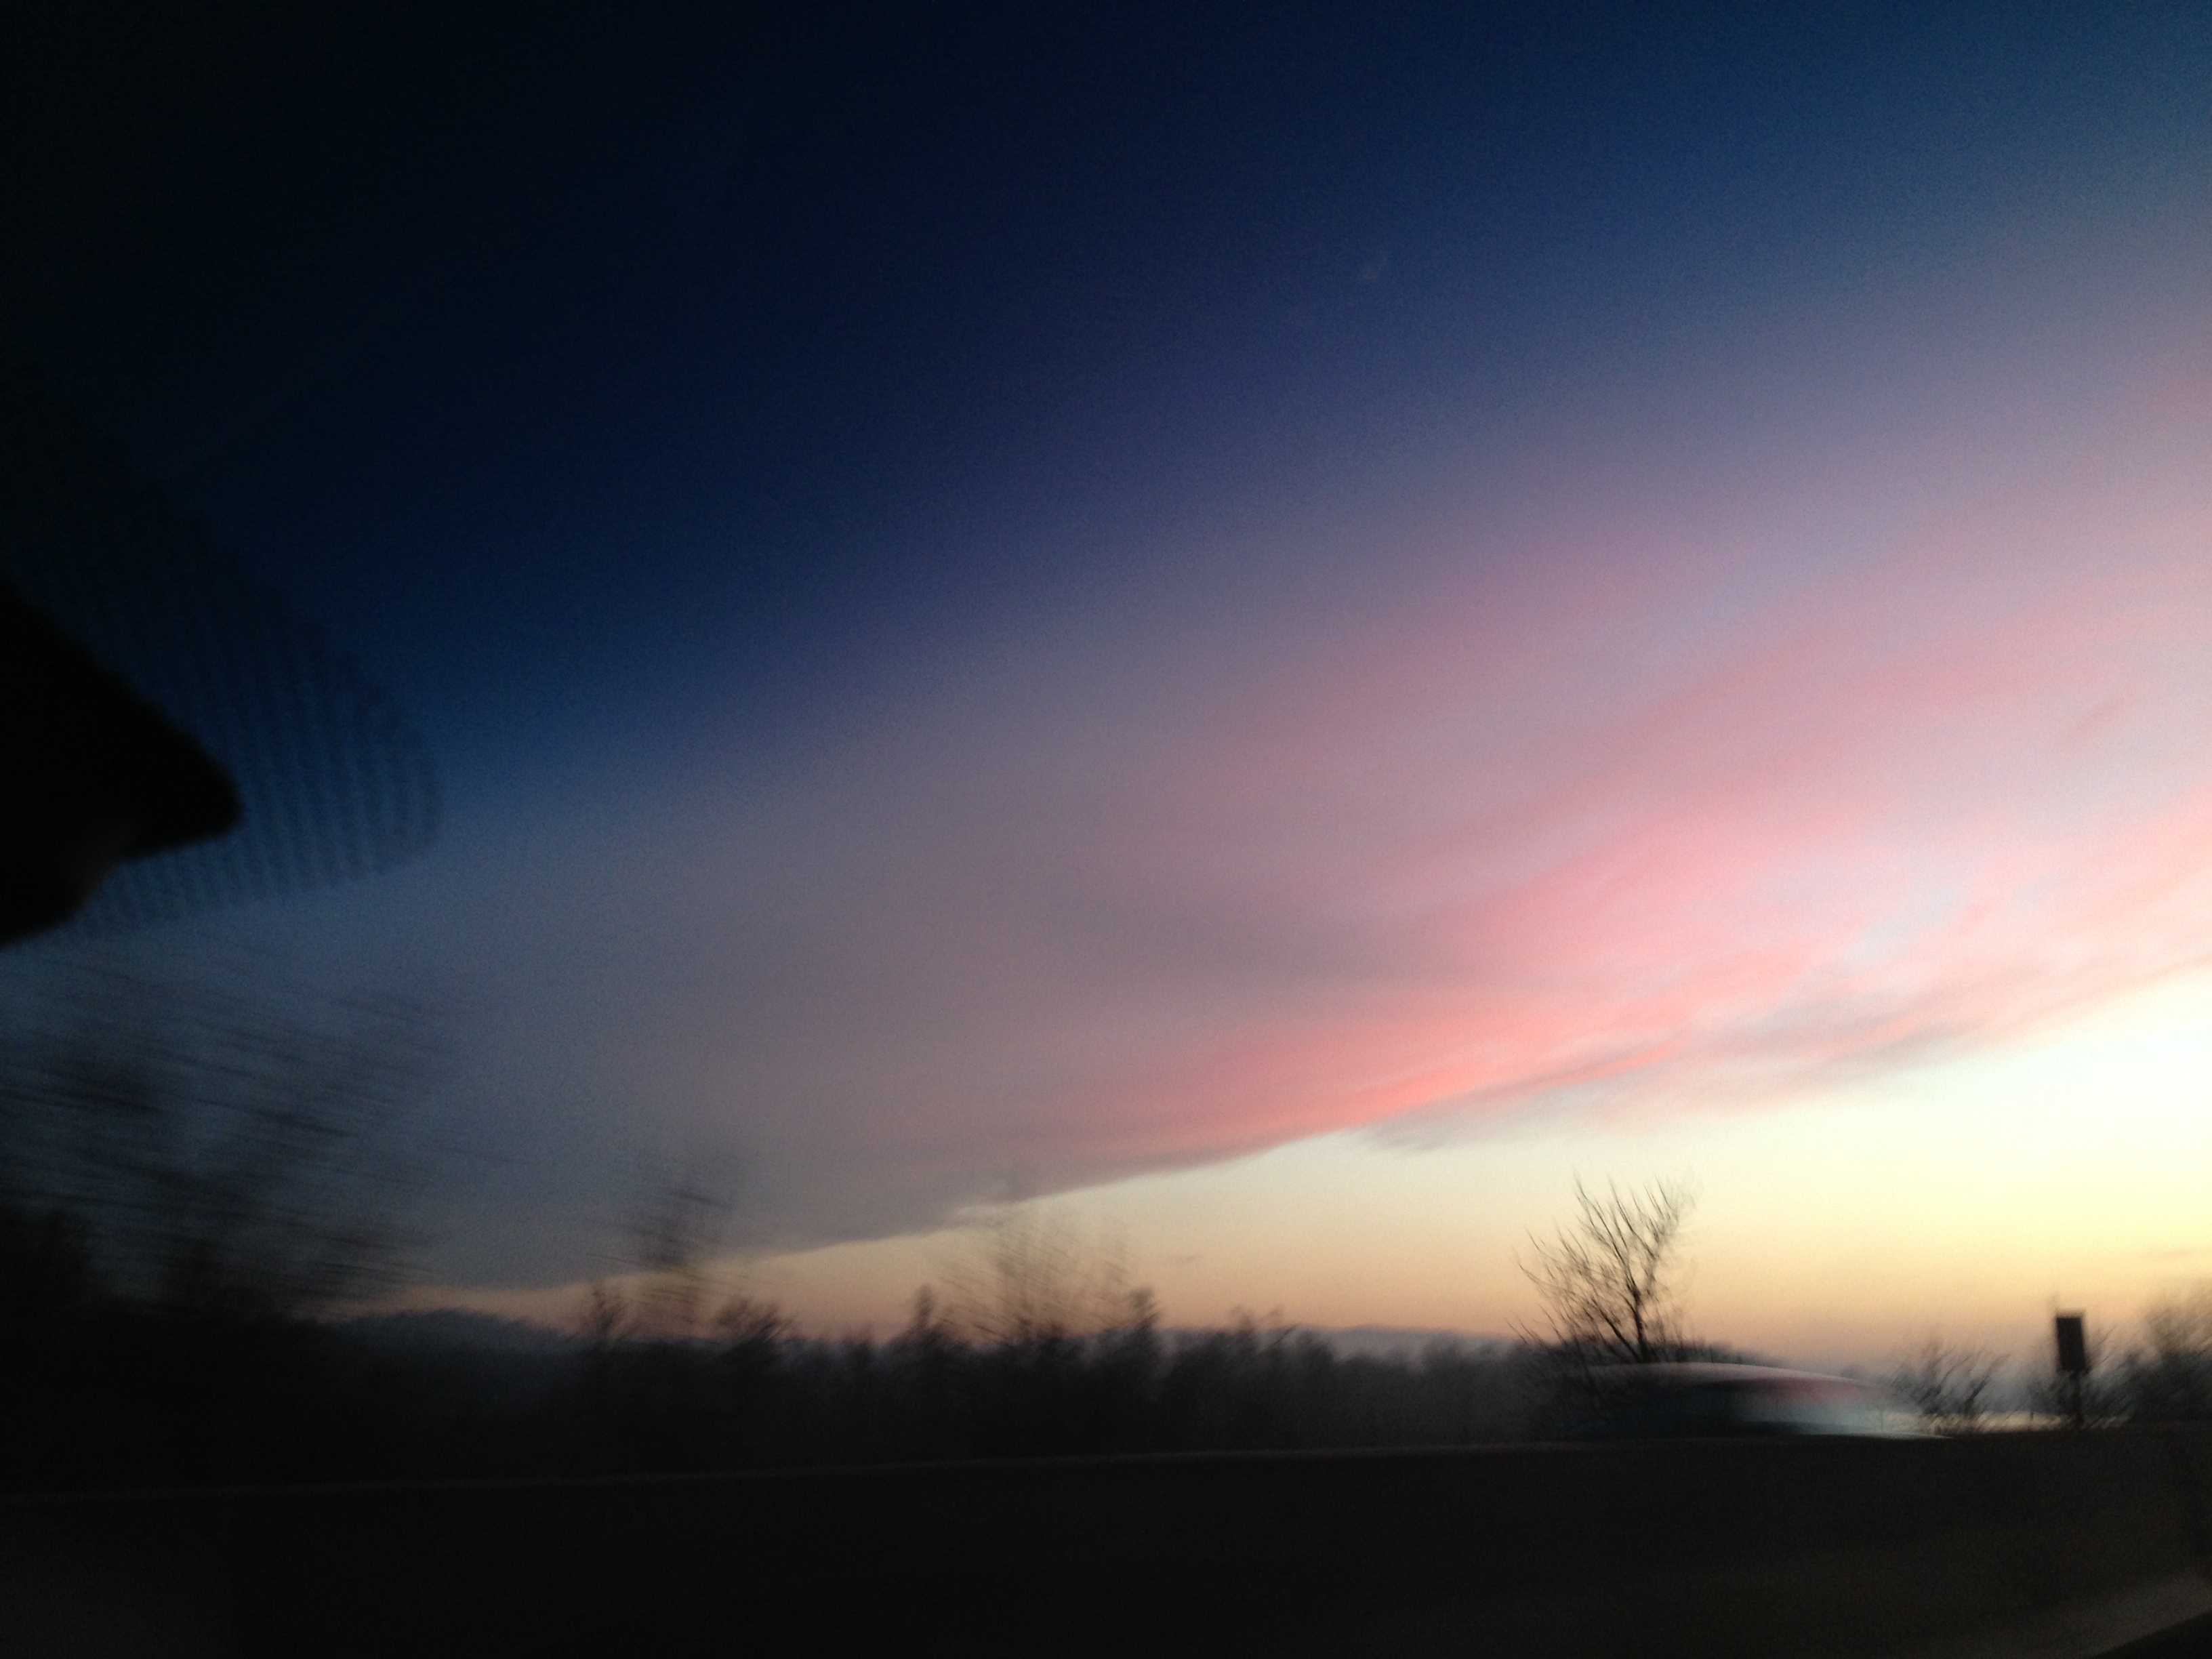
As I promised, here’s a peek at the progress I have made so far on the new art quilt I’ve started. It was inspired by the photos I took with my new iPhone from the window of our moving car.I’m going to call it
60 MPH Out The Window.
The first stage is almost complete, the silk painting. I’m reasonably satisfied, it’s a good start. The next stages are the thread painting and the final quilting .
The thread painting and and quilting require thought. This can be especially true of a landscape quilt or any art quilt which requires a measure of realism. What look are you are going for?What style of art do you want? This all needs to be considered. How you plan to achieve this? It requires thought and planning. I usually need to kick this around in my mind for days to work it out.
Thread painting can add realism and detail, the texture of the bark on a tree for instance . It can create the illusion of dimension. An apple, for example, can appear spherical, not just a flat image laying there. It can come to life.
You also need to make a decision concerning the amount of detail you want. Weigh in your mind how much thread work and quilting you will need. That will definitely effect the flatness of the quilt. No one wants an uneven wavy piece of fiber art hanging on their wall. The amount thread work will effect this. It needs to be evenly spaced with similar density to lay flat. A few things to plan, but the fun starts as you see it develop.
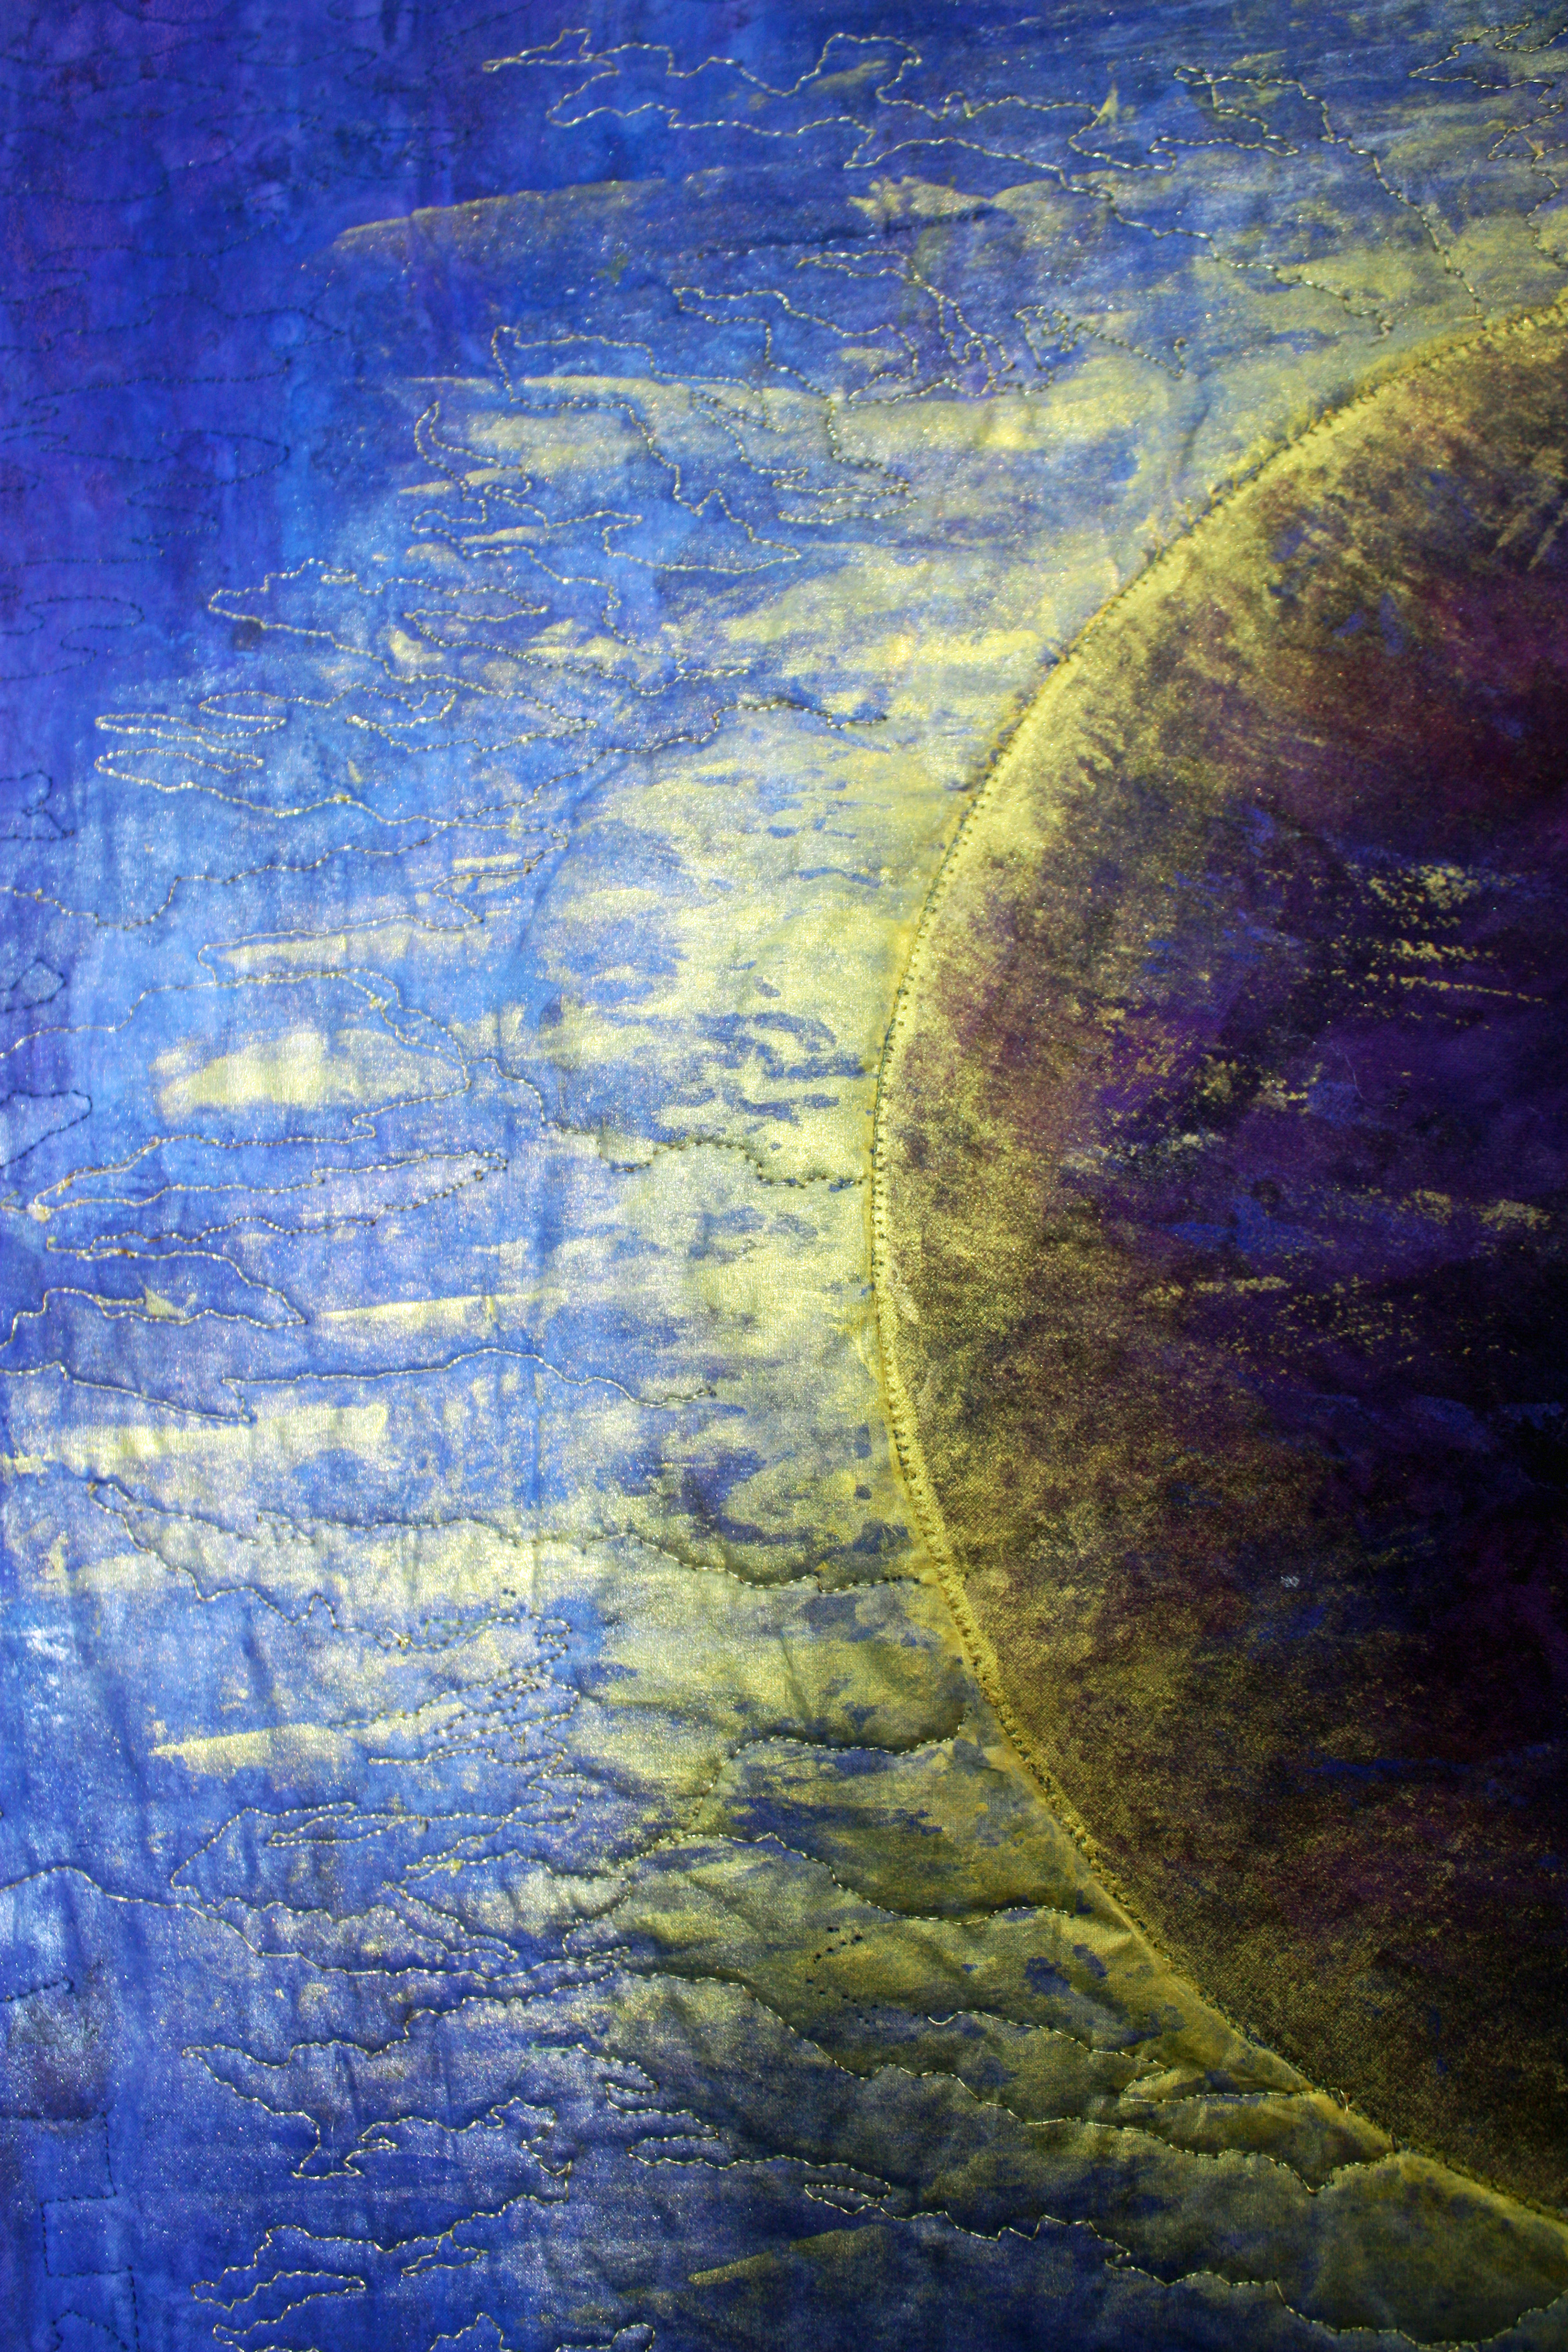
a closer look
Well, there’s a peek at my latest, 60 MPH Out The Window. I’ll try to post a few updates as the project progresses.
A follow up to my iphone “sunset out of a moving car window ” photos. I have gotten a good start on an art quilt using some of the car window pics as an inspiration. I’ll post the small beginnings tomorrow. It may work out nicely, got the silk painting about finished. Now I’m about ready for the next step thread painting and final quilting, which are make or break points in the outcome.
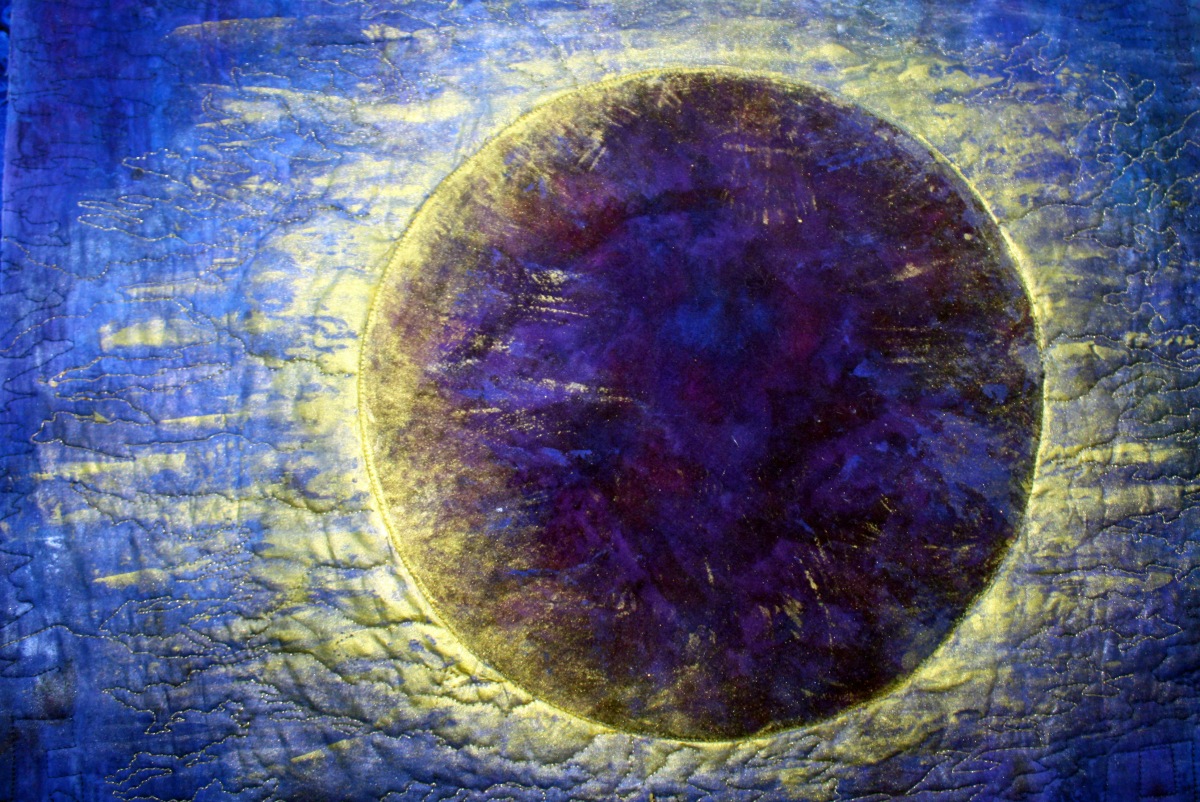
This in my latest art quilt “Lunar Eclipse“, it’s going up on Etsy in a couple of minutes. I thought an eclipse would be a cool idea. I chose lunar, the silk I had already painted was dark blue and purple.
To create my eclipse, I played around with metallic paints and other colored paints to add shading. I was having a great old time on this one, later, I experimented with a crystal glue gun adding crystals to mimic lights.Fun.
After I had finished appliqueing the moon on and had thread painted the metallic rays, what next? There was rather a lot of empty space under the eclipse to be filled.What sort of elements would enhance the eclipse scene?That was a challenge, it had a rather off the beaten path sort of subject matter, thinking, thinking & making mental pictures, well?How about a city skyline? I like it, yes that’s it! Keep it simple, not too busy, a stylized cityscape. I wanted the eclipsed moon to be the real focus of this piece.
The next choice was quilting design. On many art quilts I need to roll that around in my head several days. Consider the context, this was a bit harder, the subject was a little off the beaten path. Obviously the quilting done on a landscape quilt is different than one chosen for a traditional quilt.
Were we speaking of art quilting? you may ask? Well of course we were. For a visual treat, have a look at the art quilting section that Karen McTavish included in her book, “Quilting For Show”. A wonderful book. There are several which left me with my jaw on floor.Two particularly impressed me by Hollis Chatelai’s, utterly exquisite.Their titles are “Blue Men” and “The Grandfather”.
You will enjoy this book, loaded with great info and of course Karen’s beautiful heirloom quilting.
If you love quilting & in particular art quilting you will be treated to the work of some of the best of the best, Diane Gaudynski, Sharen Schamber, Caryl Bryer Fallert, Ricky Tims and so many more I couldn’t possibly name them all.
Well, back to my subject, here is my finished quilt,”Lunar Eclipse”.
+A photo my client sent of the quilt hanging in her lovely home
These are the final pictures of the 2 quilts which led to the many posts over the last two months. These first 2 pictures were sent to me by my client, showing her quilt installed and hanging in it’s new home. She’s happy with it, her interior decorator is happy and I’m happy. The kind of happy ending. I love, when it all comes together.
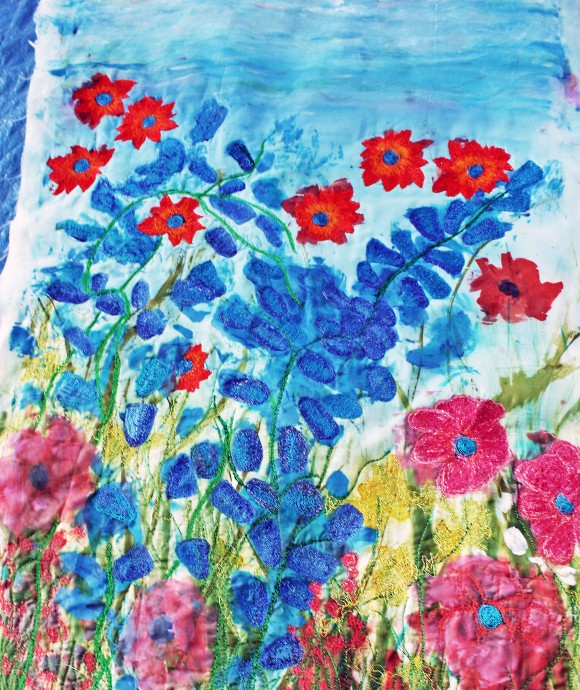
Another photo that my client sent of her finished artThe second quilt/ it measures 53" X 34".The sun is representational only, of the sun's warmth and light on a summer day.You can see the color reflected on the faces of the sunflowers
A quick note, as I promised in the last post about threadpainting, I will give a few tips for shading your thread painting.
Here’s some quick things to keep in mind. Decide which direction the sunlight is coming from. Then the shadows will be on the backside and undersides of everything. They will need to be darker by at least several shades on the color wheel. This will probably be dictated by the thread you have. You’ll start to look for shades in gradient colors next time you thread shop. You’ll want a light, medium and dark shade for many colors you use a lot.
Maderia Rayon 30 wt. is my favorite by far, the colors are bright, intense and stand out or show up beautifully. I can’t explain why they look so much better, but they do, other 30 weights don’t show as distinctly. They melt into a fabric more, and if you are quilting an heirloom quilt this is a plus, silk for example is wonderful for that. But on an art quilt, bold color is usually what you want,
The Maderia 30 wt is good for thread painting, is strong, holds up, and doesn’t break all the time, like many others. You’ll need to use a 90 embroidery needle and get the tension right first, but with those things in mind you are ready. Maderia has zillions of colors too.
Frieda Anderson caries some of it on her web site, she uses it on her quilts. Frieda was the reason I first tried it. Her quilts radiate wonderful brilliant color [I love them so] so the thread needs to hold it’s own with that kind of “competition” so to speak.[ Her interview is in my archives and website as well.]
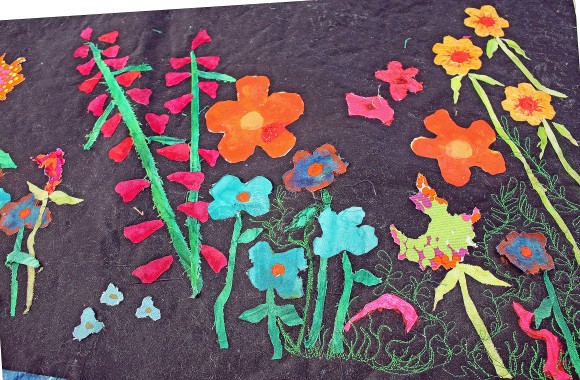
The shading is achieved by using 2 or 3 threads. On a plant with the sun shining from the left direction, there would first be a light edge on the side the sun is shining from, don’t just stitch up and down the stalk.
Notice the direction that the sun is shining from, use these observations in your work.
Notice also, the way the direction of the stitches, side to side with a slight roundness to give the illusion of a round stem. Kind of like a very flattened U. Then there is a medium shade in the center of the stem, again rounded. Finally your darkest shade on the right side, rounded too. See how the illusion of depth is created?
A few tips, start your thread painting with the medium shade so it will be covered a bit with the overlap of the 2 other colors. Then apply the light and dark shades. You want to made it appear blended.
Tip-2 you can use 2 colors instead of 3, if need be, it will create the same illusion.
tip 3-be more observant of what you see around you, take note of what you see. Notice the play of light on objects, how it looks and changes with the time of day. Notice how the shape of the shading on different objects effect the way they look. Notice these things more and try to apply them.
tip 4-rounded flattened U shapes create roundness on object. Also if thread painting an apple, the edges will be darker shaded, especially on the very edge and gradient change color getting lighter
as you get closer to the the center. The center area should be the lightest colored, maybe a little sized area like a ball or so. Or a few slightly rounded vertical lines, dark color recedes, light colors seems closer. So a rounded shape results, voila! Now if one side is in more in the shade, make your dark side extent closer the the center, rounding it, remember? This is where you observations of how light looks as it plays on different objects, is going help you.
You may notice how light and shadow may create shapes of white, like rounded rectangles with one side slightly shorter, to imitate light play on a ball, the edges will be darkest, gradually changing color lighter and lighter, until you reach the center, where the lightest color should be. Shapes may emerge from the play of light and shadow, perhaps the shade will look like jagged
edges towards the center, that have that sort of rounded U shape.
4- the underside will be darker, as on leaves and so on. They will often cast a shadow of their own. So makes the area under them a little darker too.I hope that you can see this on the above sunflower, it adds realism and life. The images are no longer just flat lifeless objects, but have depth.
5- Try these exercises with water color paints first, to get the feel of blending and shading light on objests.This is going to shock you, what a difference it makes and you did it!
It will be easier and blend better, to create the way things actually look. Do that a lot, it will improve your abilities a gigantic amount, please believe me, You’re thread painting aren’t you? So try the painting part first.
So that is the end of my little series of tutorials on threadpainting.


 http:/http://www.rayela.etsy.com//www.rayela.com/